Cheese & Chive Protein Bagels
Highlighted under: Fresh Baking Recipes
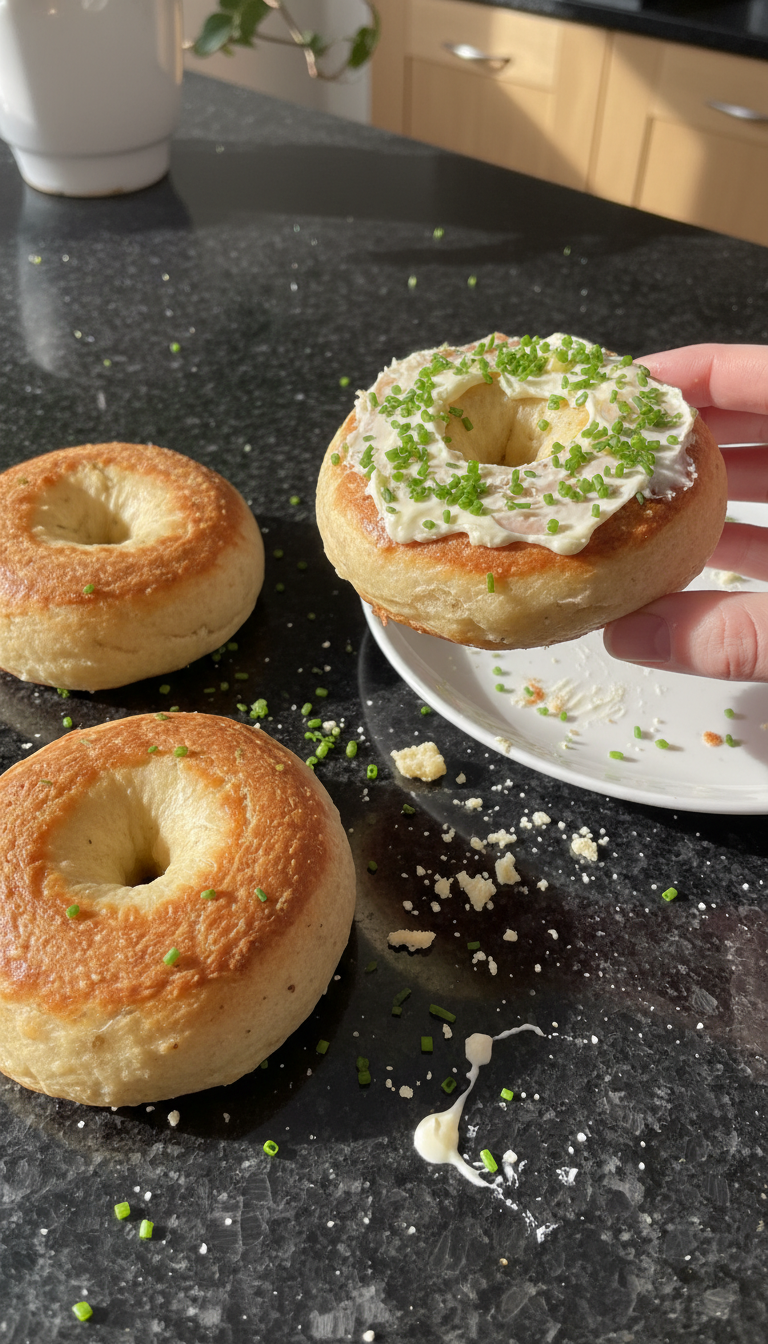
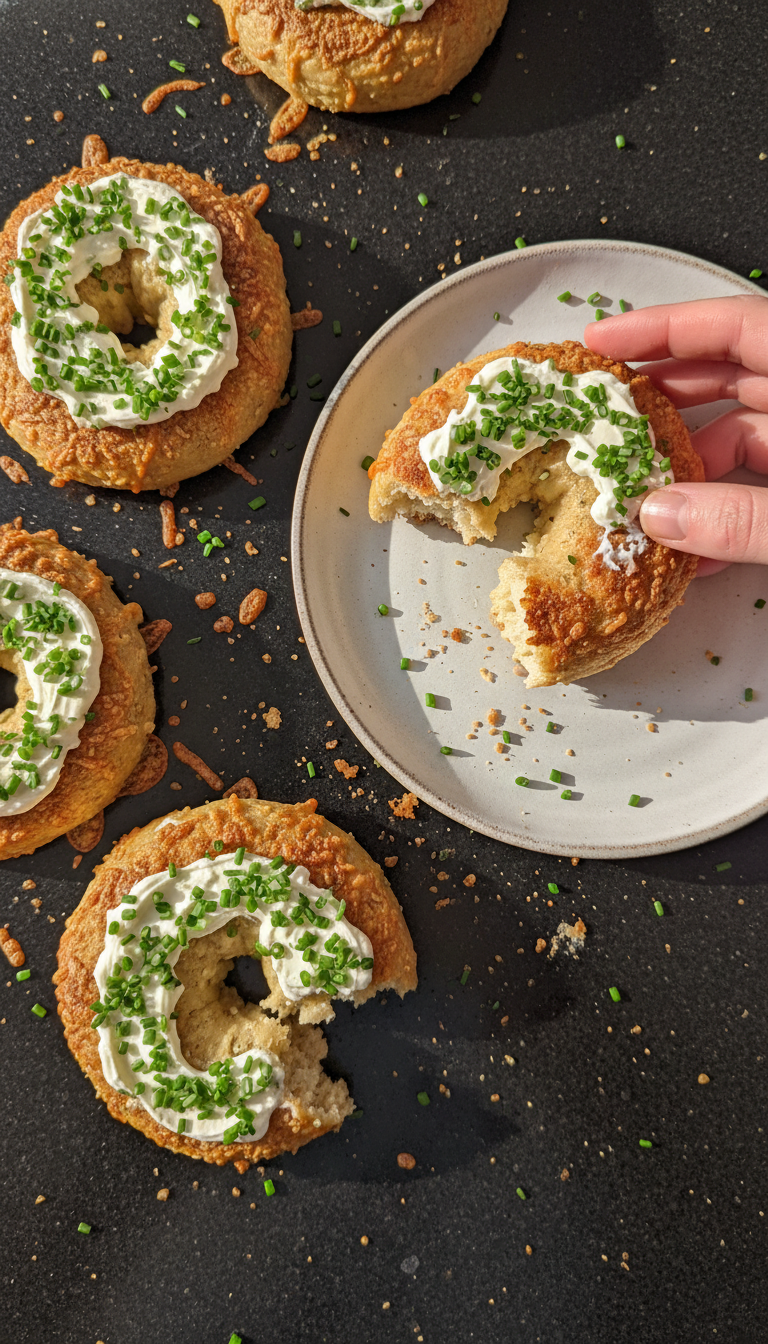
I absolutely love experimenting with flavors in my baking, and these Cheese & Chive Protein Bagels are no exception. Combining the savory taste of aged cheese with the fresh kick of chives, these bagels deliver both taste and nutrition. Perfect for a hearty breakfast or a mid-afternoon snack, I’ve crafted the recipe to be protein-packed, making it a great option for those striving to boost their daily intake. Plus, they’re easy to make and incredibly satisfying, which is a bonus in my book!
When I first tried making protein bagels, I was dubious about their ability to deliver flavor without compromising texture. I decided to use both aged cheese and fresh chives to infuse the dough with subtle richness and a slight tang. The cheese melts beautifully while baking, giving each bagel a satisfying chew that pairs perfectly with the fresh chives.
After several attempts, I discovered that boiling the bagels briefly before baking ensures they develop that crusty exterior we all love. This trick also helps preserve their chewy texture. You can enjoy them fresh or toast them for an even crunchier bite!
Why You'll Love These Bagels
- Packed with protein for a filling snack
- Savory cheese flavor balanced with fresh chives
- Versatile for breakfast sandwiches or on their own
Understanding the Ingredients
Each ingredient in these Cheese & Chive Protein Bagels plays a crucial role in balancing flavor and texture. The high-protein flour not only boosts the protein content but also gives the bagels a chewy texture that contrasts beautifully with the creamy melted aged cheese. If high-protein flour isn’t available, you can substitute with all-purpose flour, but the bagels may be less chewy and have a slightly different nutritional profile.
Aged cheese is the star of this recipe, providing a depth of flavor that’s essential for a savory bagel. I recommend using a cheese like sharp cheddar or aged gouda for their robust flavor that pairs wonderfully with chives. If you prefer a milder taste, opt for mozzarella. Fresh chives add not only a delightful taste but also vibrant color, making your bagels visually appealing and delicious.
Perfecting Your Technique
When shaping the bagels, it’s essential to properly create a hole in the center. Poking too small a hole can lead to dough rising and closing up during baking. A diameter of about 1 to 1.5 inches is ideal. Stretch gently; you want a consistent thickness throughout to ensure even cooking. If the dough is too sticky, dust your hands with a little flour to make shaping easier.
Boiling the bagels before baking is a critical step that gives them the traditional bagel texture—a chewy crust and soft interior. Make sure the water is at a simmer before adding the bagels; a rolling boil can break them apart. Cook them just long enough—about 1 minute per side—until they’re slightly firm. This pre-baking technique also enhances flavor absorption from toppings like olive oil, allowing them to caramelize during baking.
Ingredients
Bagel Ingredients
- 2 cups high-protein flour
- 1 cup shredded aged cheese
- 1/4 cup chopped fresh chives
- 1 tablespoon baking powder
- 1/2 teaspoon salt
- 1 cup Greek yogurt
- 1 tablespoon olive oil
Instructions
Prepare the Dough
In a large bowl, combine the high-protein flour, baking powder, and salt. Gradually mix in the Greek yogurt until the dough comes together. Fold in the aged cheese and chopped chives until evenly distributed.
Shape the Bagels
Preheat your oven to 375°F (190°C) and line a baking sheet with parchment paper. Divide the dough into 8 equal pieces and shape each piece into a ball. Use your finger to poke a hole in the center of each ball and gently stretch it into a bagel shape.
Boil and Bake
In a large pot, bring water to a boil. Reduce to a simmer and gently drop the bagels in, cooking for 1 minute on each side. Remove with a slotted spoon and place on the prepared baking sheet. Brush with olive oil and bake for 25 minutes or until golden brown.
Pro Tips
- For an extra kick, you can experiment with adding garlic powder or your favorite spices to the dough. These bagels are also great stored in the freezer and toasted directly from frozen!
Storage and Reheating Tips
These Cheese & Chive Protein Bagels can be stored in an airtight container at room temperature for up to two days. For longer storage, consider freezing them. Simply place them in a freezer-safe bag or container, and they will keep for up to three months. When ready to enjoy, thaw them overnight in the refrigerator or pop them directly in a toaster or oven at 350°F (175°C) for 10-15 minutes for a fresh-baked taste.
To prevent sogginess upon reheating, I recommend slicing the bagels beforehand. This allows for even heating and helps maintain their delightful texture. You can also add a bit of additional aged cheese on top before toasting to elevate the flavor profile and create a melty finish.
Serving Suggestions
These bagels are incredibly versatile. Enjoy them fresh from the oven with a smear of cream cheese or avocado for a tasty breakfast. If you're looking for a heartier option, try using them for breakfast sandwiches—layer with scrambled eggs and vegetables for a delicious start to your day. Alternatively, they make for a satisfying afternoon snack, perfect alongside a cup of your favorite tea or coffee.
For a twist on flavor, you can experiment by adding other herbs or spices in place of chives. Dill or thyme would work wonderfully alongside cheese, creating new and exciting flavors. You might also consider a sprinkle of garlic powder or a touch of crushed red pepper for those who enjoy a bit of heat. These adaptations can keep your bagels fresh and exciting!
Questions About Recipes
→ Can I use a different type of cheese?
Absolutely! Feel free to substitute with your favorite cheese, but ensure it has good melting properties.
→ How should I store the leftover bagels?
Store them in an airtight container in the fridge for up to a week or freeze them for longer storage.
→ Can I make these bagels gluten-free?
Yes, use a gluten-free flour blend that can substitute for regular flour.
→ What can I serve with these bagels?
Serve with cream cheese, smoked salmon, or simply enjoy them plain!
Cheese & Chive Protein Bagels
Created by: The Recipetrailblaze Team
Recipe Type: Fresh Baking Recipes
Skill Level: Beginner
Final Quantity: 8 bagels
What You'll Need
Bagel Ingredients
- 2 cups high-protein flour
- 1 cup shredded aged cheese
- 1/4 cup chopped fresh chives
- 1 tablespoon baking powder
- 1/2 teaspoon salt
- 1 cup Greek yogurt
- 1 tablespoon olive oil
How-To Steps
In a large bowl, combine the high-protein flour, baking powder, and salt. Gradually mix in the Greek yogurt until the dough comes together. Fold in the aged cheese and chopped chives until evenly distributed.
Preheat your oven to 375°F (190°C) and line a baking sheet with parchment paper. Divide the dough into 8 equal pieces and shape each piece into a ball. Use your finger to poke a hole in the center of each ball and gently stretch it into a bagel shape.
In a large pot, bring water to a boil. Reduce to a simmer and gently drop the bagels in, cooking for 1 minute on each side. Remove with a slotted spoon and place on the prepared baking sheet. Brush with olive oil and bake for 25 minutes or until golden brown.
Extra Tips
- For an extra kick, you can experiment with adding garlic powder or your favorite spices to the dough. These bagels are also great stored in the freezer and toasted directly from frozen!
Nutritional Breakdown (Per Serving)
- Calories: 200 kcal
- Total Fat: 6g
- Saturated Fat: 2g
- Cholesterol: 20mg
- Sodium: 270mg
- Total Carbohydrates: 30g
- Dietary Fiber: 2g
- Sugars: 2g
- Protein: 10g